
Barcodes and QR Codes
Barcodes and QR Codes Won’t Scan on ID Cards? Fix Layout and Print Settings
A card can look good and still fail at the reader. Find whether the problem is the printed code, the scanner or the record behind it, before reprinting a whole batch.
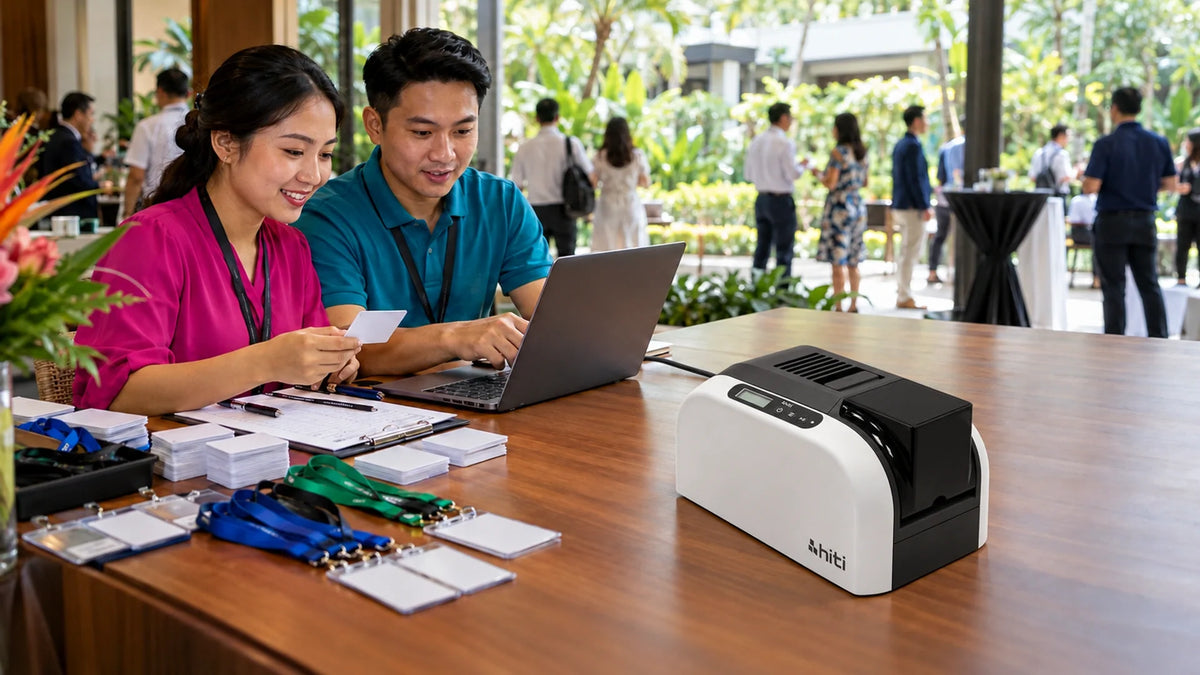
First find whether the reader cannot decode the card, or the system rejects the decoded value. For an unreadable barcode or QR code, check the reader type, clear margins, symbol size, contrast and black-panel printing. If the reader returns the correct value but membership is rejected, investigate the application record rather than reprinting the card.
The first few guests arrive, a new stack of membership cards is ready, and the reader only works after several attempts. A phone reads one card, but the reception scanner refuses it. Turning up print darkness or squeezing the code into a larger portrait layout can make the problem worse.
Staff badges, loyalty cards and event passes combine several jobs on a small surface. The photograph is for people; the barcode is for an optical reader; an embedded RFID chip, if fitted, is another technology. Treat them as separate checks.
No Read, Wrong Value or Rejected Record?
Follow the Card All the Way to the Record
- Correct identifier
- Printed code
- Reader output
- Valid application record
| Symptom | Likely Area to Investigate | First Useful Check |
|---|---|---|
| The reader gives no output | Reader capability, symbol layout or print quality | Try a known-good card with the same reader and a new card with another suitable reader. |
| A phone reads it but the desk scanner does not | Scanner type, enabled symbology or operating conditions | Confirm that the desk device supports that 2D code. A 1D laser reader will not decode a QR code. |
| The scanned value has unexpected characters | Encoded data, keyboard layout, prefix/suffix or application handling | Compare the full output with the intended test identifier, including leading zeroes. |
| The correct value appears but entry is refused | Membership record, expiry, access rules or database mapping | Check the record associated with that exact value. |
| Some cards fail or only work at an angle | Glare, placement, print defects or inconsistent materials | Inspect multiple cards under the actual lighting and reading position. |
Where the reader supports keyboard-style USB input, use an approved test record and a plain text field to inspect what it sends. For example, a demonstration card containing MEMBER-TEST-001 should return that exact value. Do this outside a live transaction screen. Do not expose real staff identifiers while diagnosing the layout.
Leave Space Around the Code, Not Just Inside It
A quiet zone is the clear background around the symbol. It helps the reader distinguish the code from a portrait, coloured band or adjacent text. A neat black frame placed too close to a barcode can interfere just as much as obvious artwork.

QR Code: Four Modules Clear
A module is one small square. A standard QR Code needs a clear margin at least four modules wide on every side.
Keep the portrait, border, hole punch and coloured artwork outside that space. Do not crop the exported image tightly to the dark squares.
Keep the code square. Stretching it to fill a rectangular gap changes its geometry.
Different symbologies have different margins. For example, Code 128 uses quiet zones at its left and right; GS1 DataMatrix uses a one-module quiet zone around the symbol. Those dimensions are not interchangeable, and the membership application must support the chosen format. A QR code is not a drop-in replacement for an existing Code 128 workflow.
Place the code away from card edges, slot punches, raised chips and obvious wear areas. Use a strong dark-on-light design with a stable opaque background. A transparent card can be attractive, but the surface behind it changes the apparent contrast unless the code area has an appropriate opaque backing.
Size the Code for the Printer and Reader
Use the card-design application’s barcode object or a suitable vector export. Avoid a barcode copied from a screenshot, stretched in a word processor or resized repeatedly as a JPEG. Print at the intended card size, without an unexpected “fit to page” reduction.
A small square module needs enough physical printer dots to keep its edges consistent. At 300 dpi, three dots measure 25.4 ÷ 300 × 3 = 0.254 mm. A 21-by-21-module QR code at that module size occupies about 7.37 mm square including four-module margins: (21 + 8) × 0.254 mm.
That is layout arithmetic, not a guarantee that every reader will accept a 7.37 mm code. Reading distance, focus, card finish and the application’s specification still matter. Start with a comfortably readable size for the actual reader and test it before making the design smaller. Longer encoded content can require more modules, so adding a long URL without enlarging the code can make each square harder to print and read.

Code 128 example: preserve the side margins and the barcode’s intended bar height. Do not shrink a long identifier into the same space without checking the resulting narrow-bar width.
A Black-Looking Code May Not Use the Black Panel
Colour card printers can produce a dark image by combining yellow, magenta and cyan dye panels. That is different from printing the barcode with the ribbon’s dedicated resin black, or K, panel. Check both the ribbon and the driver’s black-extraction settings. Black text in the artwork does not prove that the printer used K for that object.
On Zebra ZC100/ZC300-series drivers, the black-extraction controls select which content is printed using the K panel, including front/back settings and selected areas. Apply the setting to the code and required text without unintentionally changing portrait rendering. HiTi’s support guidance similarly directs users to Advanced setting → Resin K when black content is being printed with YMC instead.
Print a test card through the actual application and driver, then inspect crisp bars or squares, clean white spaces and any streaks crossing the symbol. Excessive energy or inappropriate settings can damage detail. Use the model’s cleaning and adjustment procedure instead of pushing every setting to its maximum.
HiTi, Zebra and Evolis: What to Check in the Workflow

Check Resin K selection and the correct CS-270e ribbon. Its supported colour and monochrome options suit different card layouts.

Check front/back black extraction and whether the barcode area is included. Validate the actual application output.

Match the ribbon, print profile and black-content settings to the card design. Check both sides when using a colour-front/black-reverse workflow.
The HiTi CS-270e supports 300 dpi printing and has a dedicated Resin K monochrome ribbon option. It is worth including when the job is a straightforward staff or membership-card workflow. Confirm the installed options if automatic dual-sided printing or encoding is also required.
The Zebra ZC300 gives useful control over which black objects are extracted to K. The Evolis Primacy 2 offers a broad card-printing and ribbon workflow, including colour-front and resin-black-reverse options. A higher-resolution setting or an upgradeable printer is useful only when it addresses the actual application, design or production requirement.
For the wider choice of throughput, supplies and expansion options, use the three-brand card-printer comparison. For a scanning fault, one properly tested card is more valuable than comparing headline specifications.
Test the Finished Card Where It Will Be Used

Test several finished cards with the intended reader, normal distance and actual lighting. Check the protective holder, overlay or laminate that guests will use. A reflective sleeve or a light source shining directly into the reader can change the result even when the unprotected card reads at the desk.
Confirm that the application accepts the decoded value, selects the intended member and handles leading zeroes, case and prefixes correctly. Test the print output from more than one workstation if staff use different templates or drivers. Keep the approved template, print profile, ribbon type and a known-good sample together so the next batch follows the same process.
An optical code only represents data. It does not by itself programme an RFID chip or grant door access. If the printed card looks correct but a contactless door reader rejects it, follow the staff-card printing, encoding and permissions guide.
Fix the failed stage before reprinting the batch. If there is no decode, correct reader compatibility, symbol geometry, clear space and print output. If the correct value is decoded, investigate its application record. Approve the finished design only after it works with the actual reader and operating conditions.
Frequently Asked Questions
Why can my phone read the QR code but the card scanner cannot?
The desk reader may support only 1D barcodes, have the required symbology disabled or need a different size and reading distance. Test its supported 2D formats and configuration. A successful phone scan does not prove compatibility with the production reader.
How much white space should a QR code have on an ID card?
A standard QR Code needs a clear quiet zone at least four modules wide on all four sides. A module is one small square in the code. Keep nearby text, artwork and borders outside that space.
Is 300 dpi enough for ID-card barcodes?
It can be suitable when the code has an appropriate module or bar size, clean edges, sufficient margins and compatible reading conditions. Resolution alone does not establish a working design. Test the finished card with the intended reader.
Should I use resin black for the barcode?
Check the printer, ribbon and driver workflow for dedicated K-panel printing. A code that looks black may otherwise be produced from colour dye panels. Apply black extraction to the intended code area and validate the printed result.
Can I print a QR code on a transparent card?
The printer may support transparent cards, but optical readability also needs reliable contrast. Plan a suitable opaque code area or backing and test the card against the backgrounds and holders used in practice.
The reader beeps but membership is rejected. Should I reprint?
First compare the decoded value with the expected identifier. If it is correct, check the membership record, expiry and application rules. Reprinting the same valid code will not fix a missing or inactive database record.


