
360 Camera Tips
Foggy Insta360 Footage: Lens Guards, Condensation and Stitching
Before blaming focus or resolution, check which optical surface is misting. A practical guide to dry lens guards, temperature changes and clearer Insta360 footage.
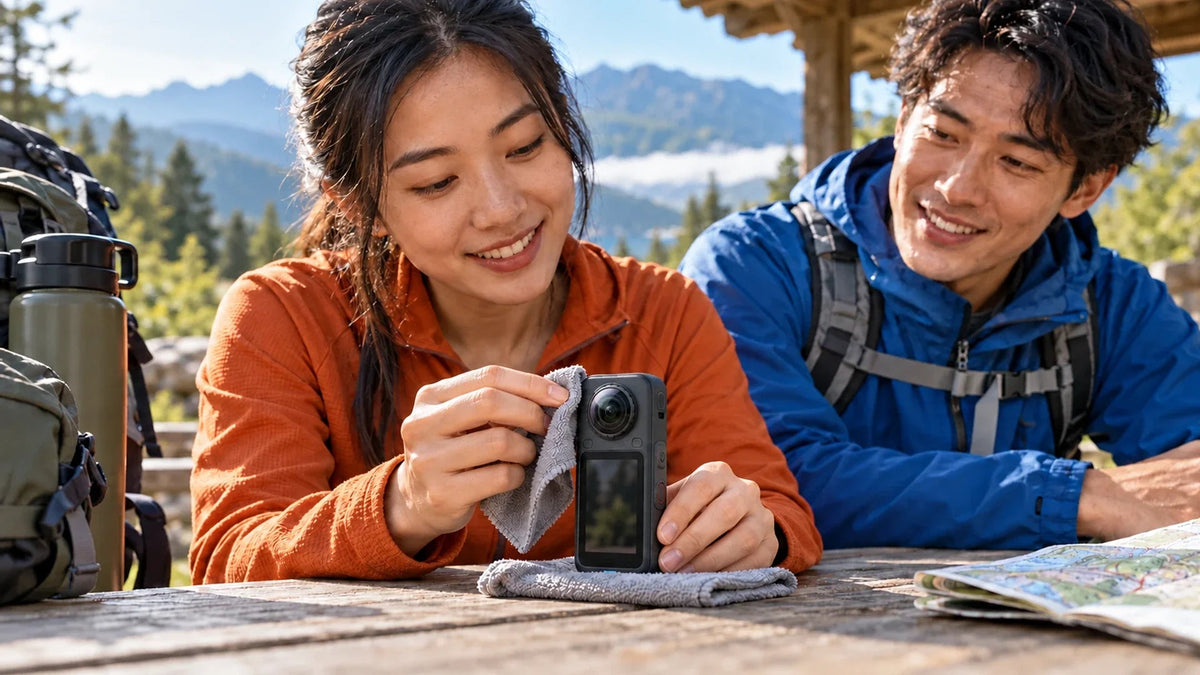
For foggy Insta360 footage, first identify whether moisture is on the outside of the guard, underneath it or inside the camera. Clean and dry the appropriate accessible surface, let equipment acclimatise after temperature changes and use the exact model’s lens-guard instructions. Lens guards are not a sealed underwater housing.
You leave an air-conditioned room for a humid street, start a walk or cycle, and find that one half of the video looks milky. Increasing resolution does not remove moisture from an optical surface. Nor will a stitching setting repair a scratched guard.
The Insta360 X6 and X5 are useful small cameras for travel and action footage, but the camera, protective guard and surrounding air still obey the same condensation rules. A short inspection before the next clip is often more useful than changing several recording settings.
Find Which Surface Is Fogging
Stop in a safe, dry place. With the camera off when handling its accessories, inspect both sides under ordinary light. Look at the outer guard, the space beneath it and the exposed lens only as permitted by the model’s instructions. Avoid touching the optical surfaces with bare fingers.
| What you notice | Likely area to inspect | Useful next step |
|---|---|---|
| A soft outer haze that clears when gently wiped | The outside surface of the guard | Use a clean, dry optical microfibre cloth and check again |
| The outer surface is clean but mist remains beneath it | Moisture between guard and lens | Remove the accessory only in a clean, dry place according to its instructions; allow accessible surfaces to dry |
| The same streak or flare remains when everything is dry | Smudge, scratch or damaged guard | Inspect in good light and compare a safe, controlled clip with the approved guard removed |
| Moisture appears to be inside the camera itself | Possible internal moisture or damage | Stop using or charging wet equipment and arrange an authorised assessment |
Do not aim the lens at the sun for an inspection or repeatedly polish a dirty surface. A particle caught in the cloth can make the next scratch. Use suitable lens-cleaning care and avoid solvents or improvised abrasive cleaners.
Find Where the Moisture Is
An outside wipe reaches only the outside surface.
01 Outer Surface
Inspect and Gently CleanUse a clean optical cloth and check whether condensation returns.
02 Under the Guard
Dry Before RefittingFollow the removal instructions in a clean, dry place.
03 Inside the Camera
Stop and Seek SupportDo not open the camera, apply improvised heat or charge wet equipment.
Handle Temperature Changes Before Recording
A cold surface brought into warm, humid air can fall below the surrounding air’s dew point and collect moisture. A camera that looked clear in a cool room may therefore mist shortly after you step outside. Tropical humidity makes this particularly noticeable, but it can also happen around cold-weather travel and warm indoor spaces.
Give the equipment time to approach the new ambient temperature before recording an important sequence. Avoid opening or fitting a guard while the camera and accessory are damp. Where practical, keep equipment protected during the transition and assemble it in a clean, dry environment.
Wipe accessible external condensation gently, then check whether it returns. If moisture is trapped beneath a guard, wiping its outside will not reach the problem. Follow the exact removal procedure and let the accessible parts dry naturally before refitting.
Prepare before the moment: inspect both lenses, pack a clean optical cloth and record a short test before the ride, trip or event begins. Confirm that both halves of the 360 view are clear, rather than checking only the side visible on the camera screen.
Match the Guards to the Camera
Similar-looking guards are not automatically interchangeable. Check the camera generation, accessory name and fitting method. Standard and Premium variants can also have different materials and installation details. Match the actual accessory to the X6 lens-guard option rather than ordering by the outline in a photograph.

Use X6-compatible guards and the fitting instructions for the exact accessory.

Check X5 compatibility separately. A similar body shape does not make an X6 accessory fit.
Inspect the seating and locking arrangement without forcing it. Keep hair, dust and cloth fibres away from the joint. Check the camera’s guard recognition or stitching configuration where supported by that model and its current software. An instruction for an older camera’s menu should not be assumed to describe an X6.
Insta360 notes that guards can affect stitching. For important subjects, aim a lens towards the subject rather than placing it directly across the stitching boundary. A clean, correctly fitted guard still needs an appropriate shooting position.
Do Not Confuse Rain Protection with a Sealed Guard
A camera’s water-resistance specification and a removable guard’s sealing are different questions. Insta360 describes these lens guards as unsealed; moisture beneath them can cause fogging. Follow the model’s guidance for rain, water activities and underwater use rather than assuming a protective cover is a watertight enclosure.
Underwater footage also introduces refraction. The appropriate model-specific dive case can address the optical conditions as well as protection; a standard guard is not a substitute. Check whether the guards must be removed before fitting the exact case, and use only its specified anti-fog provisions.
Inspect and prepare a housing in a dry place, including its sealing surfaces and any approved anti-fog inserts. Never open a wet housing over the camera. If the camera itself may contain water, stop and seek support rather than applying heat or continuing to charge it.
When the Footage Is Blurry but Not Foggy
Once the optical surfaces are clear and dry, look at the pattern in the recording. A smear that stays in one place suggests a surface problem. Blur that follows moving subjects in dim light points towards exposure and motion. A close object crossing the stitch line can show a different kind of distortion.
| Symptom after drying | Check next |
|---|---|
| Bright lights flare in the same direction | Fingerprints, fine scratches or damage on the guard |
| Only a very close subject looks poor | The model’s minimum focus guidance and distance from the lenses |
| A seam cuts through the subject | Camera orientation, subject distance and the model’s guard/stitching settings |
| Moving subjects blur indoors or at night | Available light, exposure and recording settings |
| The source is clear but a shared clip looks soft | Export resolution, reframing and the sharing platform’s processing |
Save one original test clip before changing settings. Compare like-for-like exports, not a heavily compressed message preview against the camera’s source file. The Insta360 editing and backup workflow helps keep original footage separate from delivery copies.
Pack for a Clear First Clip
The useful upgrade may be a clean replacement guard, not a different camera. Replace an optically damaged accessory with an approved exact-model part; keep a lens cap for storage and protect the camera from loose keys or grit in a bag.

Choose the correct Standard or Premium variant, fit it dry and follow the X6 accessory instructions.
For the next outing, prepare the camera dry, let it acclimatise, inspect both sides and record a short clip. If the same haze remains after a proper clean and a safe accessory check, preserve the original footage and photographs of the optical surfaces for support. That gives a much clearer starting point than changing every setting at once.
Frequently Asked Questions
Why does my Insta360 camera fog after leaving air conditioning?
A cold optical surface can collect condensation in warmer, humid air. Allow the camera and accessories to acclimatise, wipe accessible external moisture with a clean optical cloth and check for moisture trapped beneath the guards.
Will wiping the outside of the lens guard remove fog underneath?
No. An outside wipe cannot reach moisture between the guard and camera lens. Remove the accessory only as instructed, in a clean, dry place, and let accessible parts dry before refitting.
Are Insta360 lens guards waterproof?
Do not treat them as a sealed housing. The manufacturer describes these guards as unsealed and warns about water-related fogging. Follow the exact camera and accessory instructions for rain, water activities and dive-case use.
Can X5 and X6 lens guards be swapped?
Use the compatibility stated for the exact camera and accessory variant. Similar-looking bodies and lenses do not establish interchangeable fit, locking or stitching behaviour.
Can a scratched lens guard make footage look misty?
Yes. Scratches and smudges can scatter light and create flare even when the surfaces are dry. Inspect the guard and preserve a controlled comparison clip before deciding whether the accessory or camera needs attention.
Should I use a hairdryer to clear moisture?
Avoid improvised heat, ovens or other methods outside the manufacturer’s instructions. Let accessible accessory surfaces dry in a suitable environment. If moisture appears internal to the camera, stop using or charging wet equipment and arrange support.


