
Content Creation
Stop LED Flicker in Creator Videos: Shutter, Frame Rate and Light Checks
A practical route from flickering face light to a clean recording: isolate each lamp, check capture timing and verify the saved video before going live.
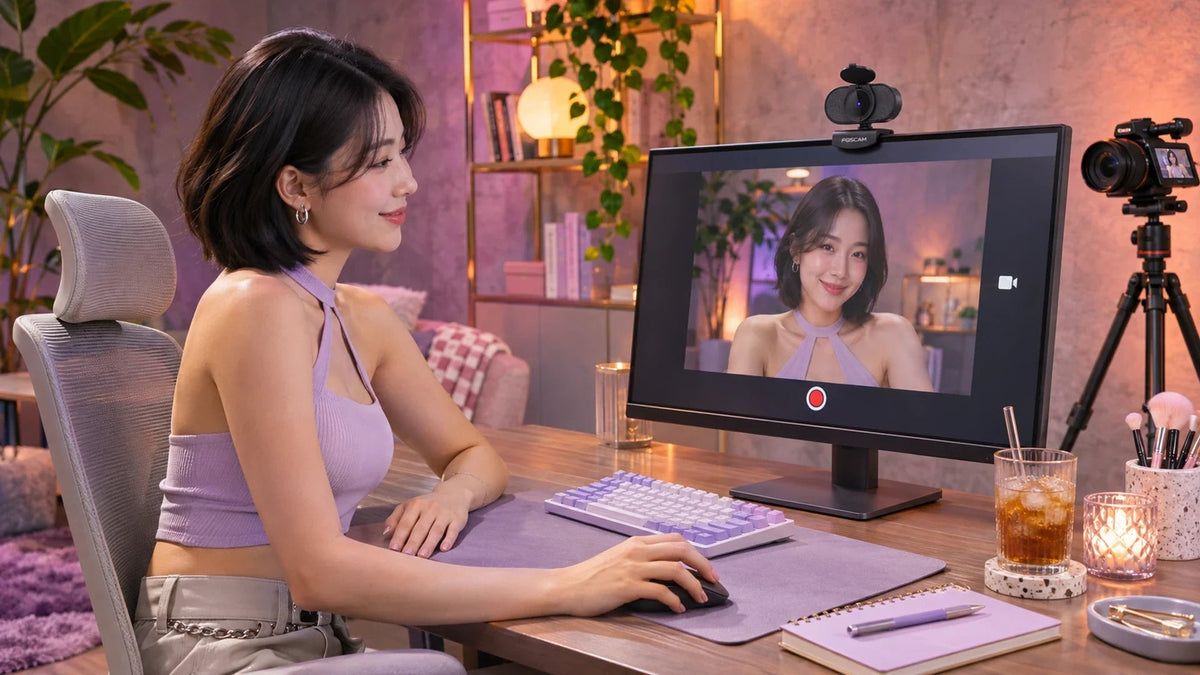
If an LED-lit video pulses or shows moving dark bands, test the light and capture timing together. Start with a daylight recording, add one lamp at a time, then check the camera’s supported anti-flicker, frame-rate and shutter controls. A higher-resolution webcam alone will not fix an unstable light source.
Your makeup looks right in the mirror, the room feels bright and the camera is sharp. Yet the recording has a dark stripe moving across your face. This is frustrating for beauty tutorials, livestream introductions and product videos because the problem may be almost invisible to your eyes.
Before buying another camera, separate a lighting-timing problem from a streaming or computer-performance problem. A few controlled clips are more useful than repeatedly changing every setting.
Flicker, Banding or Dropped Frames?
| What you see | Useful first check | Avoid assuming |
|---|---|---|
| Brightness repeatedly rises and falls | Record with the artificial lights off, using steady daylight | That exposure changes always mean a faulty webcam |
| Dark or coloured bands move across the picture | Test each LED or illuminated display separately | That a lamp which looks steady to your eyes is steady to a camera |
| Motion freezes or jumps, without light bands | Compare a local recording with the live stream | That every stutter is caused by the lighting |
LED drivers and dimming methods can vary their output quickly. The camera samples that changing light during its exposures; sensor readout can turn the mismatch into bands. Several light sources can also behave differently within one scene. That is why identifying the particular lamp is a useful first step.
Separate the Light from the Stream
Keep the camera and scene in place while changing one cause.
01 Identify the light source
Find the setting that changes itA light can look steady to your eyes while showing bands on camera. Check the saved clip at each step.
02 Verify capture, then delivery
Resolution alone is not a fix50/60 Hz controls are starting tests. A different LED driver or dimmer may need a different light.
Find the Lamp Before Changing the Whole Setup
Make a short local recording in steady daylight with the room lamps, decorative LEDs and illuminated background features switched off. Keep the camera, seat and background in the same positions for the following comparisons. If the bands disappear, add one light back at a time.
Test the suspect light at the brightness levels you actually use. A dimmer setting may change the result, so a clean clip at full brightness does not establish that every level is suitable. A monitor or decorative sign in the background can be a separate banding source even when the face light is clean.

Record the light, brightness setting, frame rate and available exposure controls alongside each clip. Simple labels such as “window only” and “key light at session brightness” are enough to make the comparison repeatable.
Use 50/60 Hz and Shutter Settings as Starting Tests
Where the camera or application exposes anti-flicker control, choose the setting appropriate to the local mains supply. Singapore, Malaysia and Indonesia use 50 Hz; travelling creators should check the destination. A 50/60 Hz option is useful, but it is not a guarantee against every LED driver or display refresh pattern.
| Local supply | Supported capture starting point | If manual shutter is available |
|---|---|---|
| 50 Hz | 25 frames/s | Try 1/50 s; compare 1/100 s if needed |
| 50 Hz | 50 frames/s | Try 1/100 s |
| 60 Hz | 30 frames/s | Try 1/60 s; compare 1/120 s if needed |
| 60 Hz | 60 frames/s | Try 1/120 s |
These are starting points for a recording check, not universal presets. The camera must support the chosen combination. Shutter duration, motion blur and available light still matter, and a high-frequency dimming source can require a different remedy. If the device has only automatic exposure, do not invent a manual setting it does not offer.
Changing the exported frame rate afterwards does not change how the original exposure sampled the light. Correct the capture arrangement, then record again.
Check What Your Webcam and Recording App Actually Offer
The Foscam W81 is a useful example of why the exact mode matters: its published 4K specification is 3840 × 2160 at 25 frames/s. It should not be described as a 4K/60 camera. A recording app may expose a smaller set of modes or controls than another app using the same device.
Select the intended camera explicitly and confirm the active capture resolution and frame rate. If anti-flicker or exposure controls are available, change one at a time. The presence of a generic menu in another webcam tutorial does not prove the W81 or your chosen app exposes that control.
When a device offers no suitable timing adjustment, change the problem light or its operating level, or use a light with documented performance for video at the required settings. Keep the face well lit without placing a bright source directly in the eyes. The webcam focus and lighting guide covers soft pictures once the bands are resolved.
Verify the File Before Going Live
- Record speech and normal hand movement under the intended lighting.
- Replay the local file and look at the face, wall and bright background displays.
- Repeat after changing any lamp, dimmer, capture mode or location.
- Make a private test in the actual streaming or meeting application.
- If only the online version stutters, investigate encoding load, connection quality and platform processing separately.
Lock exposure or white balance only where the device and application support it, after the scene is lit properly. This can keep a product demonstration more consistent, but a fixed setting is not a repair for a faulty or unsuitable light driver.
Do not use a clean preview as the sole acceptance test. The recording and streaming paths may use different modes. Confirm the output that viewers will actually receive.
Choose a Webcam for the Workflow, Then Match the Light

A USB webcam with a published 4K/25 mode. Confirm the modes and controls available in the recording application, then test it with the intended lights.
For a creator desk, compare capture modes, operating-system support, mounting, framing and sound. Position the camera near a comfortable eye line and use a stable support. More pixels do not remove a lighting mismatch, and a decorative light is not automatically suitable as the main face light.
The practical order is light source, capture timing, saved file, then live output. Keep the arrangement that passes those checks. For a desk with several accessories, the one-cable desk guide helps plan the USB, display and power paths.
Frequently Asked Questions
Why does my LED light flicker on camera but look steady in person?
The light may vary faster than your eyes notice. Camera exposure timing and sensor readout can reveal that variation as pulsing or moving bands. Test the individual light and its dimmer setting.
Should I choose 50 Hz or 60 Hz anti-flicker?
Use the local mains frequency as a starting point where that control is supported. Singapore, Malaysia and Indonesia use 50 Hz. Confirm the saved recording because some LED drivers operate at other frequencies.
Does setting 25 frames/s always remove LED banding?
No. Frame rate is only part of the capture timing. Exposure duration, readout and the light driver also matter. A 25 frames/s mode can be a useful 50 Hz starting point, followed by a recording check.
Will a 4K webcam solve flicker?
Not by resolution alone. A sharp 4K image can still contain bands from the light source. Compare the actual capture controls and lighting arrangement rather than buying on resolution alone.
Does the Foscam W81 record 4K at 60 frames/s?
Its published 4K mode is 3840 × 2160 at 25 frames/s. Confirm which supported modes the intended application exposes. Do not assume that another webcam’s settings are available.
Can editing remove the problem afterwards?
Some tools may reduce visible flicker, but they are not a dependable substitute for fixing capture. Retest the light, brightness and supported camera timing before recording an important session.


