
360 Cameras
Look Natural in 360° Travel Videos: Faces, Distance and Reframing
Make people look natural in 360° travel clips by separating close-range stitching problems from wide-angle framing, then checking a short export.
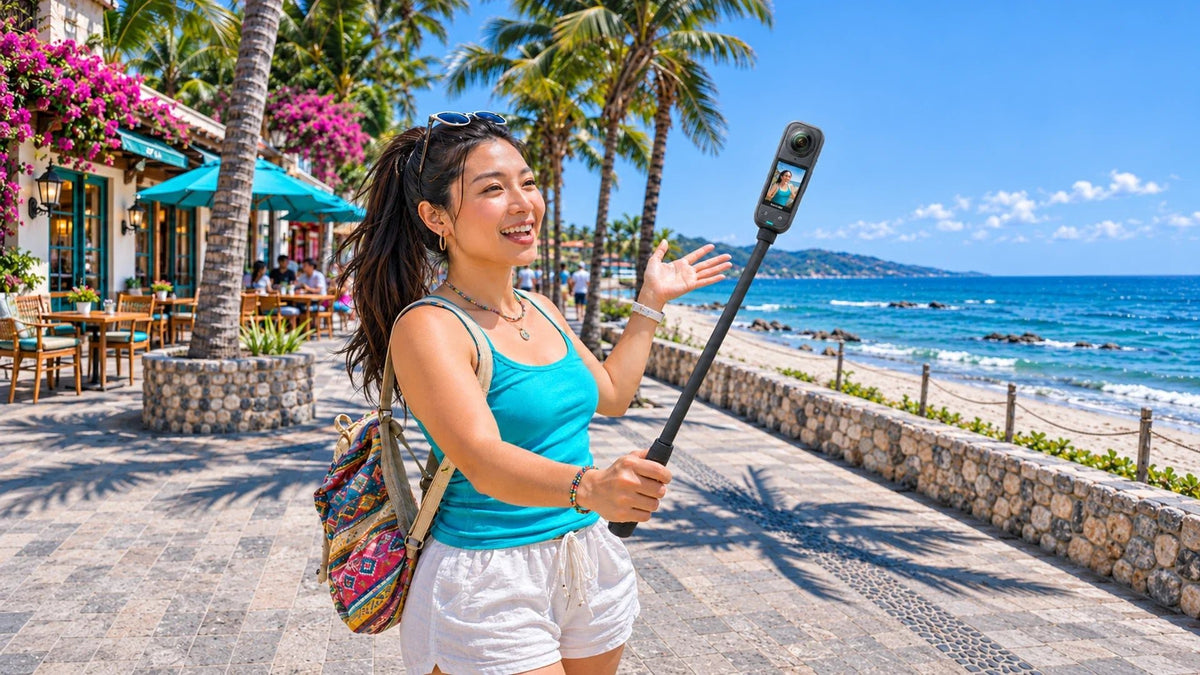
For more natural-looking people in 360° video, check distance and lens direction before changing the edit. Keep faces away from close stitching boundaries, align the camera with a straight selfie stick and choose a moderate reframed view. Stretching at the edge of a wide view and a broken stitch are different problems.
The beach looks spectacular, but your face seems too long. In another shot, a friend’s arm breaks as it passes beside the camera. Both can happen in 360° travel filming, yet they call for different adjustments.
A useful 360° workflow gives you room to choose the view afterwards. It still needs thoughtful capture: sensible distance, clear lenses, a suitable support and an edit that does not pull the viewer through constant turns.
Separate Wide-Angle Stretching from a Stitching Problem
| Symptom | Likely area to investigate | Useful next test |
|---|---|---|
| Face looks stretched near the edge of the chosen view | Wide reframing and subject position | Use a narrower view and bring the face towards its centre |
| A nearby hand splits, doubles or changes shape at a boundary | Close-range parallax and the stitching region | Move it farther away and turn a lens towards the subject |
| A line or missing detail remains in one place | Lens condition, accessories or processing | Inspect both lenses and export a short test with the correct settings |
Do not try to correct all three by sharpening the file. First ask whether the problem follows the selected viewing angle, the subject crossing a lens boundary or a fixed area of the capture. That observation narrows the next step.
Two Different Problems, Two Different Fixes
Change the setup for a stitch problem; change the view for a framing problem.
01 Give the capture room
Keep close objects off the seamA face, hand or prop close to a lens boundary can be difficult to join cleanly. Rehearse the complete movement.
02 Choose a comfortable view
Avoid extreme edges for close facesA very wide crop can stretch people even when the stitch is clean. Reframe deliberately and check a short export.
Give Faces Room and Turn a Lens Towards the Action
For a talking travel shot with the Insta360 X5, about 1 m is a useful conservative starting distance. It is a setup starting point, not a universal minimum for every accessory, subject or camera model. The exact stitching requirements depend on the arrangement.
Point one of the camera’s two lenses towards the important person, rather than aiming the thin side between the lenses at their face. Keep a hand, drink or souvenir from passing very close to that boundary during a gesture. A foreground object close to the camera can be much more difficult to stitch than the distant beach.

Rehearse the movement once. If the creator turns to a companion, check both positions instead of judging only the opening frame. Put the people where the cameras capture them cleanly, then use reframing to tell the story.
Keep the Stick Straight and the Lens Arrangement Honest
For the intended invisible-selfie-stick effect, the camera should continue the stick’s line. An angled adaptor, bent pole or offset mount can put part of the support into the captured view. Keep the camera secure and the pole within its appropriate use limits.
Inspect both lenses before an important take. A fingerprint, damaged guard or incorrectly fitted accessory can spoil a whole sequence. Select the stitching or accessory option that matches what is actually fitted, where the current software requires it. Do not select a lens-guard mode just because it sounds like a quality improvement.
If the problem is haze or moisture rather than a broken boundary, use the lens-guard and condensation guide. Cleaning and drying need the model’s instructions; rubbing a lens harder is not a general repair.
Reframe for Faces Before Showing Off the Whole Scene
Choose the destination format first. A vertical introduction and a wide landscape clip can use different parts of the same sphere. Start with a moderate field of view, place the face away from the extreme edge and check the proportions during movement.
A very wide or dramatic projection can be an intentional effect, but it should not become the default for every close-up. Use a brief establishing view for the location, then a calmer composition for speech. Move between views deliberately instead of making the viewer follow constant spinning.
Set a few purposeful viewing changes around the action, then watch the entire result without pausing. If a person repeatedly slides out of the composition, adjust the framing path or tracking choice and review again. Automatic selection still needs an editorial check.
Export a Short Sample Before Editing Everything
- Capture a short clip with the actual support, accessories and people.
- Include the gestures and camera movement planned for the sequence.
- Preview both the important faces and the stitching boundaries.
- Export a representative segment using the intended viewing format.
- Watch the file on the sort of screen your audience will use.
The camera preview and exported result can differ, so a short export is worth checking before processing a long day of footage. Keep the original files until you have checked the result and made a separate recovery copy.
An 8K 360° capture covers the sphere. A flat crop uses only part of it, so it is not automatically an 8K picture in every viewing direction. The reframing and export-resolution guide explains why an aggressive crop can look softer after export.
Choose the Camera Around the Story

A compact 360° camera for capture followed by reframing. Plan distance, support alignment and the final viewing format alongside the camera specification.
A 360° camera is useful when the important action can change direction, when you want to appear in the scene or when one take needs several compositions. A supported phone and rear preview screen may be simpler for a fixed introduction or close product demonstration.
For a flattering travel clip, use the camera to support the person and the place. Give faces enough room, keep the support aligned, choose a comfortable view and verify a short export. Those habits matter more than selecting the widest possible angle for every shot.
Frequently Asked Questions
Why does my face look stretched in a 360° video?
A very wide reframed view and a face near its edge can exaggerate proportions. Try a more moderate view and a central face position. If the face splits at a boundary, investigate stitching distance and lens direction instead.
How far away should I hold an Insta360 X5?
About 1 m is a useful conservative starting point for a talking shot. It is not a universal minimum: check the current requirements for the model, fitted accessories and subject arrangement, then export a test.
Which part of a 360° camera should face the person?
Turn one lens towards the important person rather than pointing the thin side between the lenses at a close face. Keep nearby hands and objects away from the stitching boundary.
Why is the selfie stick visible?
Check that the camera continues the stick’s straight line. An angled adaptor, bend or offset mount can place the support in the view. Also check the appropriate capture and accessory settings.
Does an 8K 360° camera produce an 8K flat crop?
Not automatically. The capture resolution covers the sphere, while a reframed flat view uses part of it. The crop and export choices determine the resulting detail.
Should I judge a stitching problem from the preview alone?
No. Inspect the lenses and setup, then export a short representative segment with matching accessory settings. Use the saved output to decide whether the issue remains.


