
Action Cameras
Car Videos Through Glass: Fix Dashboard Reflections Before Adding Filters
A better car video starts with the light reaching the lens. Identify dashboard reflections, flare and exposure problems before buying another filter.
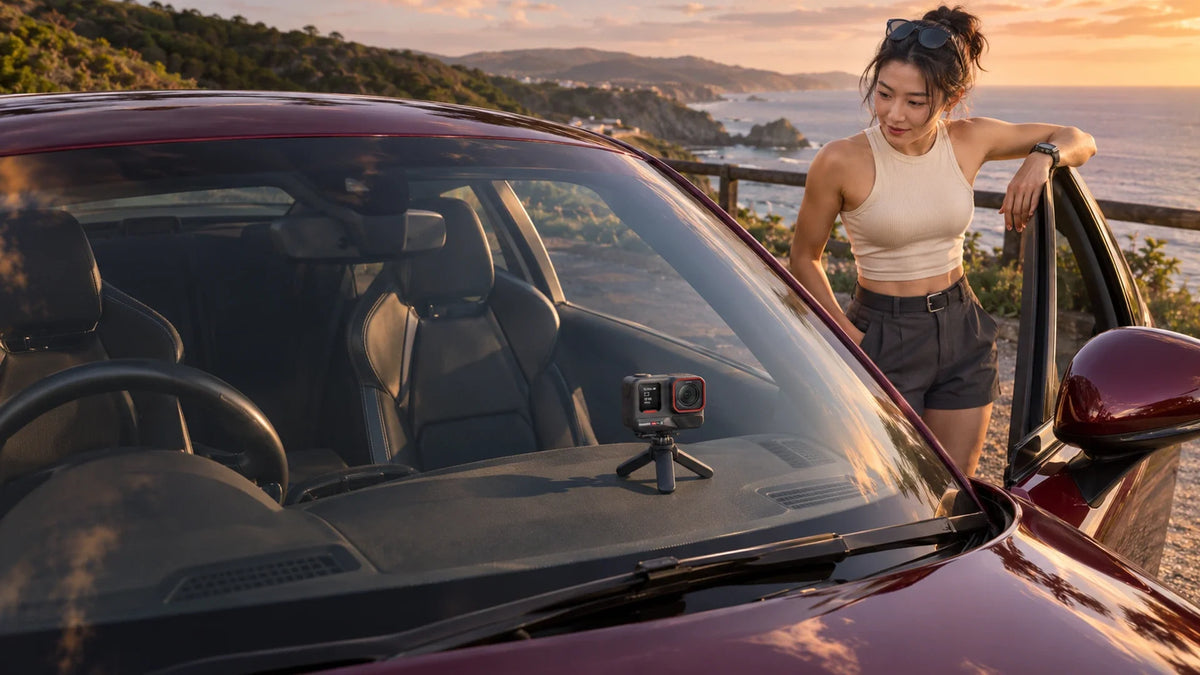
For clearer car videos through a windscreen, identify the reflection before changing camera settings. Clean the glass and lens, reduce bright objects reflected from the cabin and test another camera position while parked. A compatible polariser can reduce some glass reflections; an ND filter mainly controls the amount of light.
The road looks beautiful in person. In the recording, a pale dashboard, air vent or bright shirt appears across it. Turning up sharpness will not remove that second image. Nor does a higher recording resolution stop light from reflecting off the glass.
Whether you are filming a sports-car feature, a travel introduction or a static view from the cabin, separate the optical problem from the camera specification. Start with a parked test, then choose the support and accessories around the shot.
First Identify What Is Spoiling the Picture
| What you see | What to investigate | A useful first test |
|---|---|---|
| Recognisable dashboard, vent or clothing over the road | Cabin light reflected in the windscreen | Remove a bright object from the reflected area and compare |
| Bright streaks, coloured spots or a washed-out patch near the sun | Flare and the direction of strong light | Change the shooting direction or position |
| White sky or signs with missing detail | Exposure and scene brightness | Review exposure using a short recording |
| Smears or halos that stay around highlights | Glass or lens contamination, or another optical surface | Inspect and clean the appropriate surfaces carefully |
A dashboard reflection usually resembles something inside the car. Flare need not resemble an object at all. That difference helps you avoid buying a filter for the wrong reason.
A Reflection Is a Second Light Path
Find the source of the unwanted image before changing the exposure.
01 A bright cabin object reaches the lens
Change the reflected sourceTry removing a bright object or changing position. More sharpness cannot remove a second image.
02 Separate the next two decisions
Choose the filter for the faultA polariser and a plain ND filter have different jobs. Check fit, the complete view and the saved clip.
Clean Both Sides of the Glass, Then Check the Angle
Park somewhere suitable and inspect the windscreen inside and out. A clean exterior can still have a film on the cabin side. Clean the camera lens or lens guard using the model’s approved method, then look through the actual recording view.
Change one thing at a time. Move a bright bag away from the dashboard, try a darker top, or test a slightly different camera height and angle. Review whether the reflection becomes less distracting without losing the intended view. Do not place cloth, a camera or a support over an airbag or obstruct the driver’s sightline.

A different position can also change glare from the sun. Judge the road, sky and reflections together. Making one corner darker is not useful if it introduces a large bright reflection elsewhere in the frame.
CPL and ND Filters Solve Different Problems
| Accessory | Its main job | What to check |
|---|---|---|
| Circular polariser, often called a CPL | Reduce some polarised reflections from non-metallic surfaces such as glass | Exact camera fit, rotation, colour changes and the effect across the view |
| Neutral density, or ND, filter | Reduce light entering the lens for the intended exposure and motion treatment | Density, light level and whether the camera settings suit the shot |
| Clear protective lens surface | Protect the appropriate part of the optical assembly | Cleanliness, correct fitting and any extra reflections it introduces |
A polariser is not an on/off switch for every reflection. Its effect changes with geometry, and tinted or treated glass can introduce unwanted colour patterns. If the filter rotates, compare several positions and check the complete frame. Do not assume that a combined CPL/ND accessory behaves like a plain ND filter.
An ND filter can help manage a bright scene, but darkening the picture does not selectively erase a dashboard image. Keep enough light for the chosen recording settings. A stronger filter is not automatically better inside a dim cabin.
Match Accessories to the Exact Camera
The Insta360 Ace Pro 2 is a compact action-camera option with a flip screen for checking a setup. Its recording features do not make an arbitrary filter physically compatible. Confirm the exact camera generation, attachment system and clearance before ordering an accessory.
Check the assembled view for dark corners, a loose fitting or a support entering the picture. Do not improvise adhesive over the lens assembly. If the mount itself moves or detaches, follow the car-mount surface, heat and leverage guide before trying to hide the movement in editing.
Run a Short Parked Comparison Before the Main Shoot
- Record the original view with the car stationary.
- Clean the glass and lens, then record the same framing.
- Change the reflection source or camera position and compare again.
- If needed, fit the correct filter and review its effect across the frame.
- Replay the saved clips on a larger screen before committing to the setup.
Keep the time, lighting and framing close enough to understand each change. A cloudy clip and a sunny clip may look different even when the filter has done very little. Save the original files until the useful footage has a second copy.
Configure the equipment while parked. For any moving shot, use an appropriate secured installation and keep operation separate from driving. A loose tabletop support is not a substitute for a suitable vehicle mount.
Choose the Camera Around the Shot You Want

A compact action camera for planned travel and car-video capture. Match the support, lens accessories and recording setup to the exact model.
Start with the free fixes: clean the surfaces, remove the reflected object and test the position. Add a correctly matched polariser when glass reflections remain the problem. Add ND for an exposure or motion requirement. Those decisions are more useful than buying the darkest filter available.
Frequently Asked Questions
Why can I see the dashboard in my car video?
Light from the dashboard or another cabin surface can reflect off the windscreen into the lens. Test a different position and reduce bright reflected objects before changing resolution or sharpness.
Will an ND filter remove windscreen reflections?
An ND filter reduces incoming light. It does not selectively remove a dashboard image. A compatible polariser may reduce some reflections, but its effect depends on the glass and shooting angle.
Can a CPL make tinted glass look strange?
It can reveal unwanted colour patterns or uneven effects with some glazing and viewing angles. Check a saved clip across the whole frame before using that arrangement for an important shoot.
Should I press the camera lens against the windscreen?
Do not assume contact is suitable. Check lens protection, clearance and the intended mount. Test another position without forcing the optical assembly against the glass.
Can I use any Ace-series filter on an Ace Pro 2?
No. Confirm the accessory’s explicit model compatibility and fitting system. Similar product names or a similar-looking lens do not establish a secure fit.
What is the quickest useful test?
While parked, record the same view before and after cleaning, moving a bright cabin object and changing camera position. Compare the saved clips before adding a filter.


