
HiTi
Double-Sided ID Cards: Fix Upside-Down Backs and Check the Flipper
Two printed sides involve hardware, layout and orientation. Prove the complete card with a simple front/back test before producing staff or membership batches.
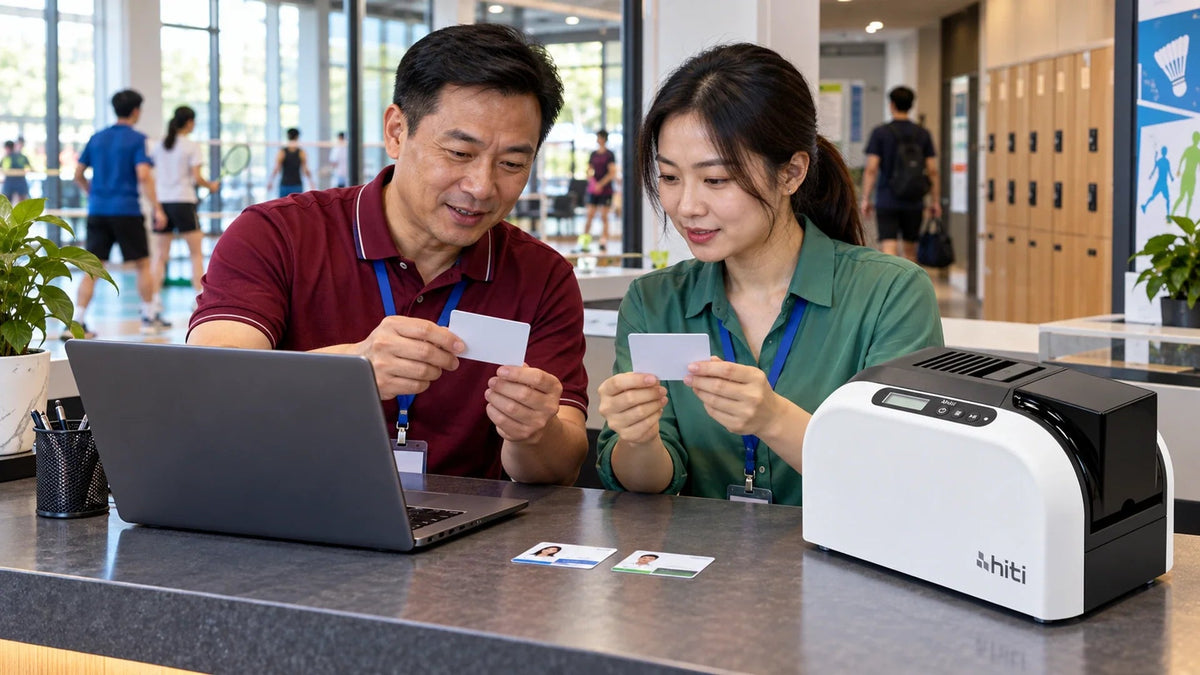
For correct double-sided ID cards, confirm that the printer has the required duplex hardware, assign the right front and back artwork, and proof the way the finished card will be turned. An upside-down back is usually an orientation or layout problem. Do not mirror or rotate the whole job before establishing which side needs adjustment.
The first badge looks professional until it is turned over. The reverse is upside down, or the back belongs to the next person. These faults waste cards and ribbons, but they can often be caught with one anonymous proof rather than a whole membership run.
Separate printed appearance from the electronic credential. Correctly printing both sides does not encode a chip, register the card in an access system or prove that a barcode will scan.
Confirm the Actual Printer Configuration
Single-sided and dual-sided configurations can share a model family. On the HiTi CS-270e, a flipper module is an optional accessory for automatic double-sided printing. A printer driver offering two-sided controls does not establish that the required hardware is fitted and recognised.
Check the supplied configuration, installed options and supported driver. The card-design software, driver and printer must agree on which side is being produced. If an automatic duplex job is unavailable, verify the configuration before trying to feed finished cards back through the machine.
Manual refeeding is a separate workflow that must be supported for the chosen printer, card stock and printed surface. Do not improvise it to bypass a missing option. For a new system, include duplex, networking and encoding requirements in the specification instead of comparing base-printer prices alone.
Two Printed Sides Need One Working Process
Confirm the real configuration before sending a batch.
01 Duplex Hardware
Confirm the FlipperAn available driver option does not prove the hardware is fitted.
02 Front and Back
Define the Reading DirectionAssign the two layouts and the way the card will be turned.
03 One Physical Proof
Then Approve the BatchVerify both faces, the data pairing and any required reader.
Prepare Two Sides with One Clear Reading Direction
Set the card size before placing artwork. CR-80 is nominally 85.60 × 53.98 mm. Decide whether the card is landscape or portrait and which physical edge will be considered the top when it is worn or held.
Create a simple anonymous test: a large FRONT label with an upward arrow on one side and BACK with an upward arrow on the other. Keep both well inside the card edges. This is easier to diagnose than a finished design containing photographs, logos and several text blocks.
Now decide how the user will turn the card to read the reverse. Turning around a vertical edge and flipping over a horizontal edge produce different viewing directions. Neither is universally correct; the finished badge and its holder determine the intended reading experience.
Print One Card and Test the Actual Turn
Send one test card through the intended software and driver. Hold the front upright, turn it in the agreed direction and inspect the back. Record whether the fault is orientation, side assignment, missing output or variable-data pairing.
| What the proof shows | Likely area to inspect | Controlled next step |
|---|---|---|
| Back is upside down | Back-side rotation or the chosen turning direction | Adjust the relevant side once, then reprint one card |
| Front artwork on the back | Side assignment or page order | Verify which design is assigned to each face |
| Only one side prints | Installed duplex option and job settings | Confirm the flipper and supported configuration |
| Back is mirrored | Mirror or transparent-card viewing settings | Return to the intended material and viewing side |
| Back belongs to another person | Record pairing or page sequence | Check one complete data record before a batch |
Do not change the source artwork and driver rotation at the same time. Two corrections can cancel each other and make a later reprint fail again. Save the working profile only after the physical proof reads correctly.

Match the Ribbon and Card Material to Both Sides
Check the supported ribbon for the required result: full colour, monochrome and colour-front/black-back jobs are different demands. A ribbon’s advertised yield must be interpreted for its defined job format, not assumed to mean that many arbitrary two-sided cards.
Use compatible card material, thickness and a clean surface. Keep cards protected from dust and handle them by their edges. A damaged or unsuitable surface cannot be repaired by changing orientation.
The CS-270e also supports compatible transparent-card work. That makes the intended viewing side especially important. A transparent design seen through the card can need a different mirrored treatment from an ordinary opaque PVC badge. Prove that material separately rather than applying its settings to every card.
Check the Record and the Function as Well as the Picture
For variable-data printing, inspect the front and reverse belonging to one person before increasing the quantity. A correct-looking reverse with another member’s data is a more serious failure than an upside-down label. Use anonymous test records while proving the process.
If a barcode or QR code is required, test the finished print with the reader and lighting it will actually encounter. Preserve the required quiet zone and contrast. The card printing, encoding and door-permission guide to distinguish printed appearance from electronic access.
Encoding and access-system enrolment are separate steps. Specify the required module, credential technology and permissions before ordering. Do not assume that printing a contactless symbol makes the card compatible with a door reader.
Save a Repeatable Production Profile
The HiTi CS-270e offers a modular path when the installation needs automatic duplex or encoding options. Confirm the installed modules rather than relying on the family name. Evolis and Zebra also offer configuration-dependent choices; the three-brand printer comparison helps frame those purchasing questions.

Confirm the flipper, ribbon, card material and required encoding options before approving a double-sided production workflow.
Approve one complete card, then preserve the settings that produced it. Keep the template version, driver profile, ribbon type, material and anonymous proof together. Recheck after a driver update, layout change or move to a different printer configuration. A short proof costs less time than sorting a batch with the wrong reverse.
Frequently Asked Questions
Does a two-sided setting mean the printer has a flipper?
No. Verify the installed and recognised hardware for that configuration. Some model families are supplied in different versions or accept optional modules.
Should I rotate the back by 180 degrees?
Only after the physical proof shows that this is the needed correction. Check the intended turning direction and avoid rotating in both the artwork and driver.
Is mirroring the same as rotation?
No. Mirroring reverses the image left to right; rotation turns it. Transparent-card jobs can introduce a separate viewing-side requirement.
Can I use any ribbon for two-sided colour work?
Use a ribbon and job format supported by the printer. Colour-front/black-back and colour on both sides can have different requirements and yields.
Does duplex printing encode a door-access card?
No. Printing, electronic encoding, access-system registration and permissions are distinct tasks.
What should the first test contain?
Anonymous FRONT and BACK labels with a clear top arrow, followed by one representative finished card. Check orientation, data pairing, readability and the actual reader or holder.


